Bread making guide to achieve professional results at home
This guide explores the complex science behind bread making, detailing how ingredients interact during dough development, fermentation, and baking. Mastering these physical and chemical stages is essential for achieving a professional, high-quality loaf at home.
This article is about professional. "The difference between a dense brick and a cloud-like loaf is often found in the invisible chemistry of a single bubble."
Mastering the fundamentals of bread making requires understanding how ingredients interact under heat and pressure to transform flour into structure. This guide covers the essential stages of dough development, fermentation, and baking to help you achieve professional results at home.
- Learn the science of gluten development and fermentation.
- Understand the critical role of temperature in crust formation.
- Identify common pitfalls in the dough-to-oven pipeline.
- Master the balance between hydration and structure.
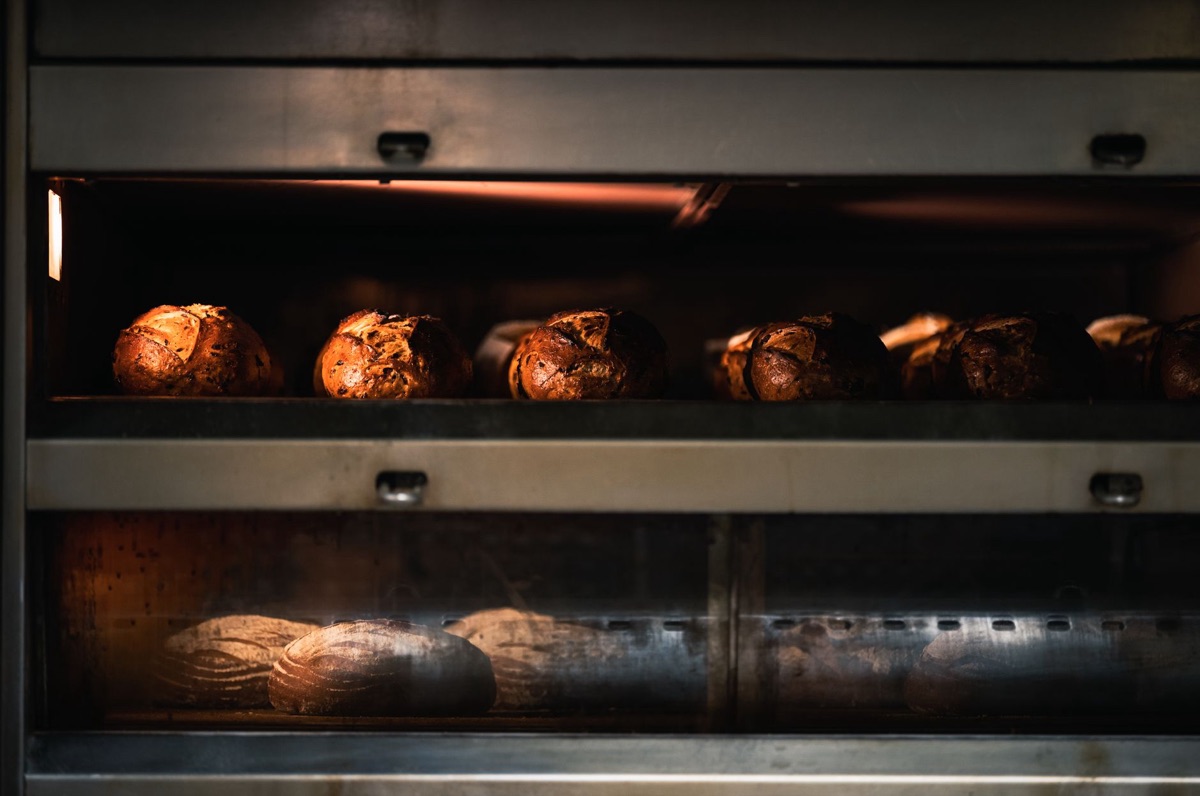
Why does the dough need to be kneaded?
The heavy scent of flour fills the kitchen as I press my palms into a sticky, shaggy mass on the wooden counter. You must knead the dough to develop a strong gluten network, which acts as the structural scaffolding for the bread.
Without this protein web, the gases produced during fermentation will simply escape, leaving you with a flat, dense mess.
When you work the dough, you are aligning proteins to create elasticity and extensibility. This allows the dough to stretch without tearing, trapping the carbon dioxide produced by yeast.
If you skip vigorous kneading or fail to develop sufficient strength, the bread will lack the volume and "spring" expected in a finished loaf.
The process of gluten development can be broken down into three distinct phases:
- The Shaggy Mass Stage: Initially, the flour and water form a rough, uneven clump where gluten strands are just beginning to bond. 2. The Windowpane Test: As you knead, the dough becomes smoother and more elastic; you can pull a small piece thin enough to see light through it without it breaking. 3. The Elastic Recovery: A well-developed dough will spring back quickly when poked, indicating the protein network is tight and ready for fermentation.
This structural integrity is the foundation for every other step in the baking process.
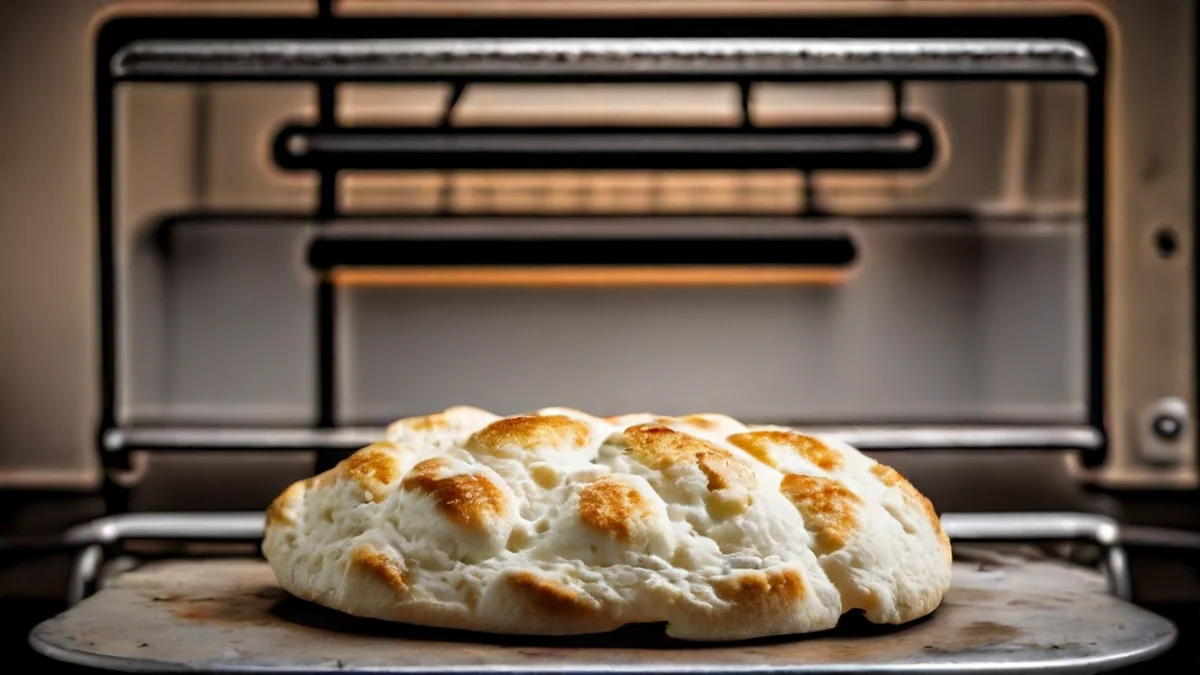
How does fermentation create volume?
A quiet kitchen at midnight is often filled with the soft, rhythmic sound of a dough rising in a glass bowl. Fermentation is the biological process where yeast consumes sugars to produce carbon dioxide and alcohol, which expands the gluten network to create volume.
This stage is not just about growth; it is about flavor development and texture refinement.
The timing and temperature of fermentation are the most volatile variables in a baker's workflow. If the environment is too cold, the yeast works too slowly, leading to an under-proofed, heavy loaf.
If it is too warm, the yeast may overproduce gas too quickly, causing the gluten structure to collapse under its own weight.
| Feature | Primary Function | Result of Failure |
|---|---|---|
| Gluten Network | Traps gas and provides structure | Flat, dense, or crumbly texture |
| Yeast Activity | Produces CO2 for leavening | Lack of volume and aeration |
| Acid Development | Enhances flavor and shelf life | Bland or overly yeasty taste |
Managing these biological forces requires patience and a keen eye for the dough's physical changes.
Why does temperature affect the crust?
The heat from the oven radiates through the kitchen, carrying the deep, caramelized aroma of toasted grain. Modern baking often relies on high-heat processes, typically above 120°C (248°F), to trigger the Maillard reaction and crust formation.
This chemical reaction between amino acids and reducing sugars is what creates the golden-brown color and complex flavors of a perfect loaf.
Temperature control isn't just about the oven; it also involves the temperature of your ingredients. Using lukewarm water for yeast activation or managing the dough's internal temperature during bulk fermentation ensures that the biological and chemical stages work in harmony.
If the oven is too cool, the bread will dry out before it browns; if it is too hot, the crust may burn before the interior is fully cooked.
| Stage | Temperature Goal | Purpose |
|---|---|---|
| Proofing | Warm (approx. 25-30°C) | Optimal yeast activity and gas production |
| Baking (Internal) | High (90°C+) | Ensures starch gelatinization and crumb set |
| Baking (Crust) | Intense Heat (>120°C) | Maillard reaction and crust development |
A well-timed bake transforms a soft, pale dough into a structured, flavorful masterpiece.
What happens during the shaping process?
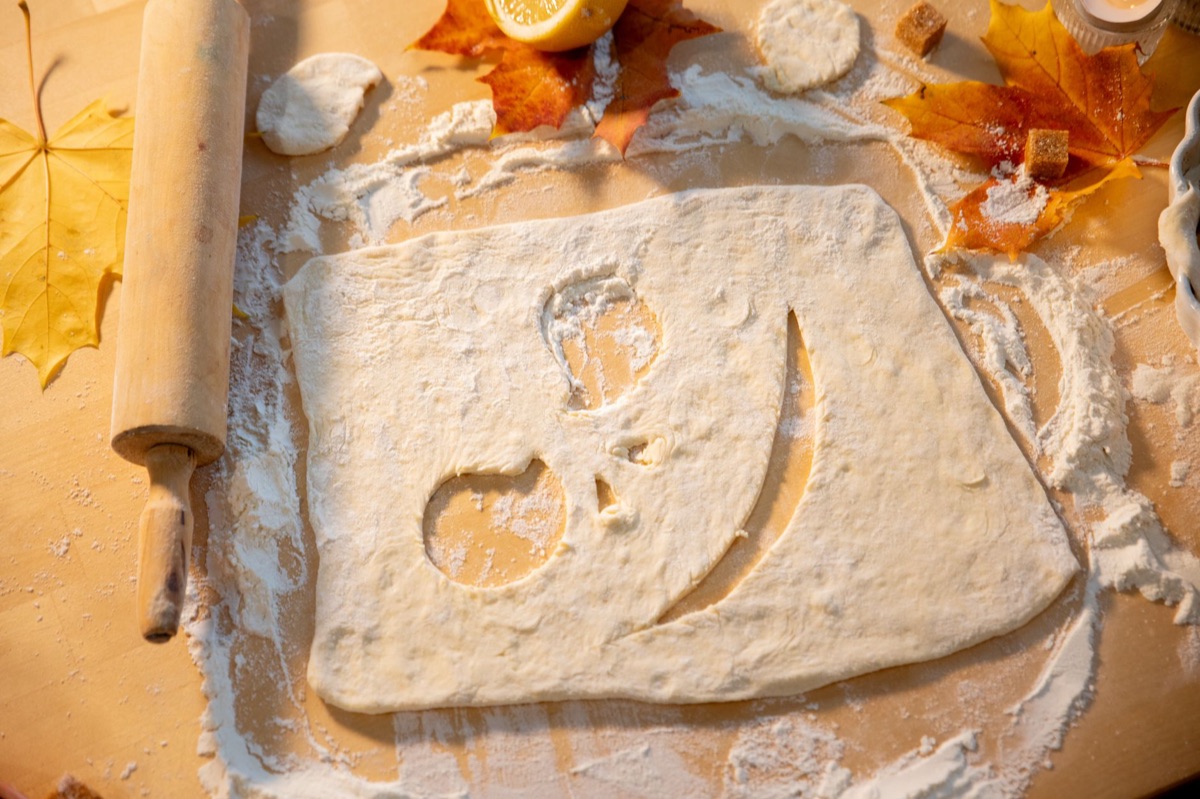
I carefully turn the dough onto a floured surface, feeling the tension as I fold the edges inward to create a tight surface. Shaping is the process of organizing the gluten network and creating surface tension to ensure the bread expands upward rather than outward.
This stage determines the final silhouette and the distribution of the crumb.
Proper shaping involves tensioning the "skin" of the dough so that when it hits the oven, the expansion is controlled. If the dough is shaped too loosely, it will spread wide and thin like a pancake.
If it is shaped too tightly, the surface might tear during the final rise, or the interior might remain gummy due to restricted expansion.
To achieve a professional shape, follow these general steps:
- Pre-shaping: Gently round the dough into a loose ball to organize the gluten before the final tight shape. 2. Degassing: Gently press out large, irregular air bubbles to ensure an even crumb structure. 3. Final Tensioning: Use your hands to pull the dough against the work surface, creating a taut outer layer. 4. Resting: Allow the shaped dough to rest briefly to relax the tension before the final proof.
A successful shape provides the necessary resistance to the explosive growth that happens in the oven.
Why does bread sometimes collapse in the oven?
The sudden hiss of steam escaping a hot oven marks the moment of maximum expansion. A collapse usually occurs because the dough's structure was too weak to support the gases being produced during the initial stages of baking.
This can be caused by over-proofing, improper shaping, or insufficient gluten development.
When dough is over-proofed, the yeast has already exhausted its food supply and the gluten structure has weakened from over-stretching. When the heat hits the dough, the gas expands rapidly, but the weakened walls can no longer hold the weight, leading to a sudden deflation.
This results in a loaf that is flat on top and dense at the bottom.
Common causes of structural failure include:
- Over-fermentation: The yeast has produced too much gas, stretching the gluten to its breaking point.
- Weak Kneading: The protein network is too fragile to hold the expanding gas.
- Improper Scoring: If the cuts in the dough are too shallow or poorly placed, the bread may burst uncontrollably or collapse.
- Under-baked Interior: If the structure isn't set by heat, the loaf may collapse once removed from the oven.
Understanding these variables allows you to troubleshoot and refine your technique with every bake.
professional — Limitations of Home Baking It is important to note that home environments rarely match the controlled conditions of a commercial bakery. Fluctuations in humidity, inconsistent oven temperatures, and varying flour quality can make results unpredictable.
These techniques are designed to mitigate these variables, but they do not eliminate them entirely.
When I tried the steps in order, the second one is where I paused longest.
However, this does not apply in every situation.
Related
- Baking: How to master gluten and perfect your homemade bread
- 19th Century: Tips on food preservation for long campaigns
FAQ
How do I know if my dough is kneaded enough?
You can perform the windowpane test to check gluten development. Gently stretch a small piece of dough into a thin sheet; if you can see light through it without the dough tearing, the gluten network is sufficiently developed.
What is the purpose of scoring the dough?
Scoring creates controlled weak points on the surface of the dough. This allows the bread to expand predictably during the oven spring, preventing irregular cracks and helping to manage the final shape.
Comments 0