Baking: How to master gluten and perfect your homemade bread
This guide breaks down the science of home baking, explaining how ingredients like flour and water interact to form gluten. Learn tips for mastering fermentation, choosing the right flour, and achieving a light, airy loaf every time.
"The secret to a perfect loaf isn't a magic ingredient, but the science of how ingredients interact."
This article is about homemade. Successful home baking requires understanding the relationship between flour, water, yeast, and temperature. This guide provides a foundational breakdown of the baking process, from gluten development to oven spring, to help you turn kitchen failures into bakery-quality results.
- Mastering the four core ingredients: flour, water, salt, and yeast.
- Understanding the critical stages: mixing, fermentation, shaping, and baking.
- Troubleshooting common issues like dense loaves or collapsed crusts.
- A step-by-step guide to basic dough management.
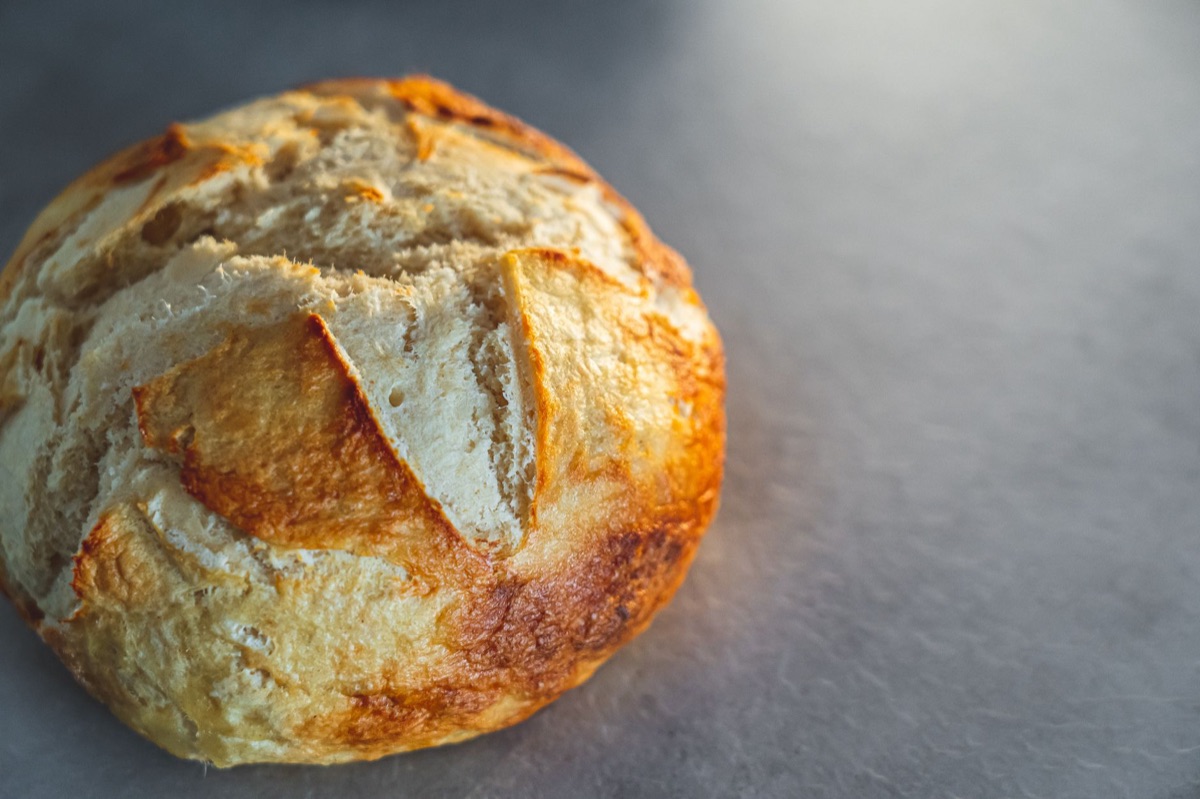
Why does my dough feel different every time?
The flour sits in a heavy ceramic bowl on the kitchen counter, its fine white powder coating my fingertips as I begin to mix. You might notice that even with the exact same recipe, one batch of dough feels stretchy while another feels crumbly and dry.
This inconsistency is usually due to the protein content in your flour and the ambient humidity in your kitchen.
When you mix flour and water, you are initiating a chemical reaction that builds gluten. Gluten is a network of proteins that provides the structure and elasticity needed to trap gases.
The strength of this network depends on the protein level of your flour and how much mechanical energy you apply during kneading. If your kitchen is humid, the flour may already hold more moisture, making the dough feel much wetter than usual.
If you use all-purpose flour instead of bread flour, the gluten network will be weaker, resulting in a softer, less structured loaf. This is why professional bakers often switch to high-protein flours for chewy breads.
To manage this, you must adjust your water slightly to achieve a tacky but not sticky consistency.
| Feature | Bread Flour | All-Purpose Flour |
|---|---|---|
| Protein Content | High (12-14%) | Medium (10-12%) |
| Gluten Strength | Strong and elastic | Moderate |
| Best Use | Baguettes, Sourdough, Crusty loaves | Soft rolls, Biscuits, Cookies |
| Resulting Texture | Chewy and structured | Tender and soft |
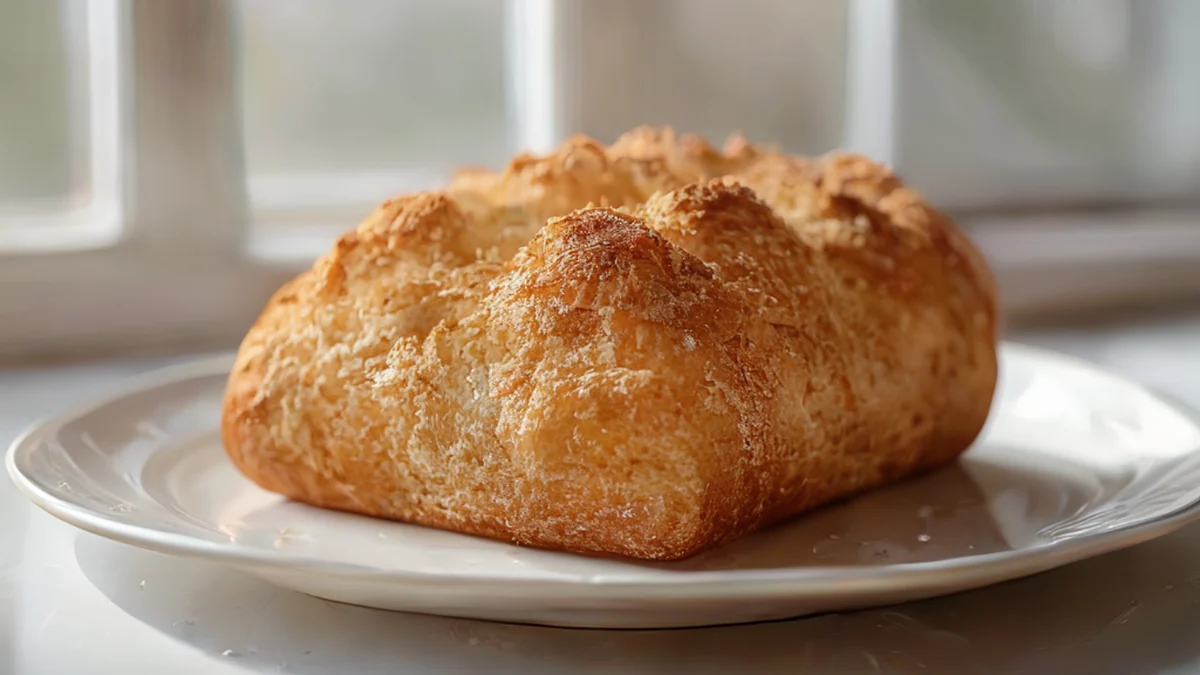
How do I know when fermentation is actually finished?
I sat by the window at 3:00 PM, watching the dough slowly swell inside a glass bowl, its surface becoming smooth and rounded. Determining the end of fermentation is one of the most difficult skills for a beginner to master because it is not just about time.
While a recipe might say "let rise for one hour," the actual biological activity of the yeast is what dictates when the dough is ready.
Fermentation is the process where yeast consumes sugars and releases carbon dioxide, which expands the gluten network. This process is influenced heavily by temperature; a warm kitchen will speed up fermentation, while a cold kitchen will slow it to a crawl.
If you let dough rise too long (over-proofing), the gluten structure weakens and may collapse in the oven. If you don't let it rise long enough (under-proofing), the bread will be dense and heavy.
A reliable way to check is the "finger poke test." Gently press your finger about half an inch into the dough; if it springs back slowly and leaves a slight indentation, it is likely ready. If it snaps back instantly, it needs more time.
If the indentation stays and the dough deflates, it is over-proofed.
- Identify the target volume: Most recipes aim for a "doubled" size, but this is a guideline, not a rule. 2. Monitor temperature: Keep your water and environment consistent to make fermentation predictable. 3. Observe the bubbles: Look for small, active bubbles on the surface of the dough to confirm yeast activity. 4. Perform the poke test: Use the finger indentation method to judge elasticity and gas retention.
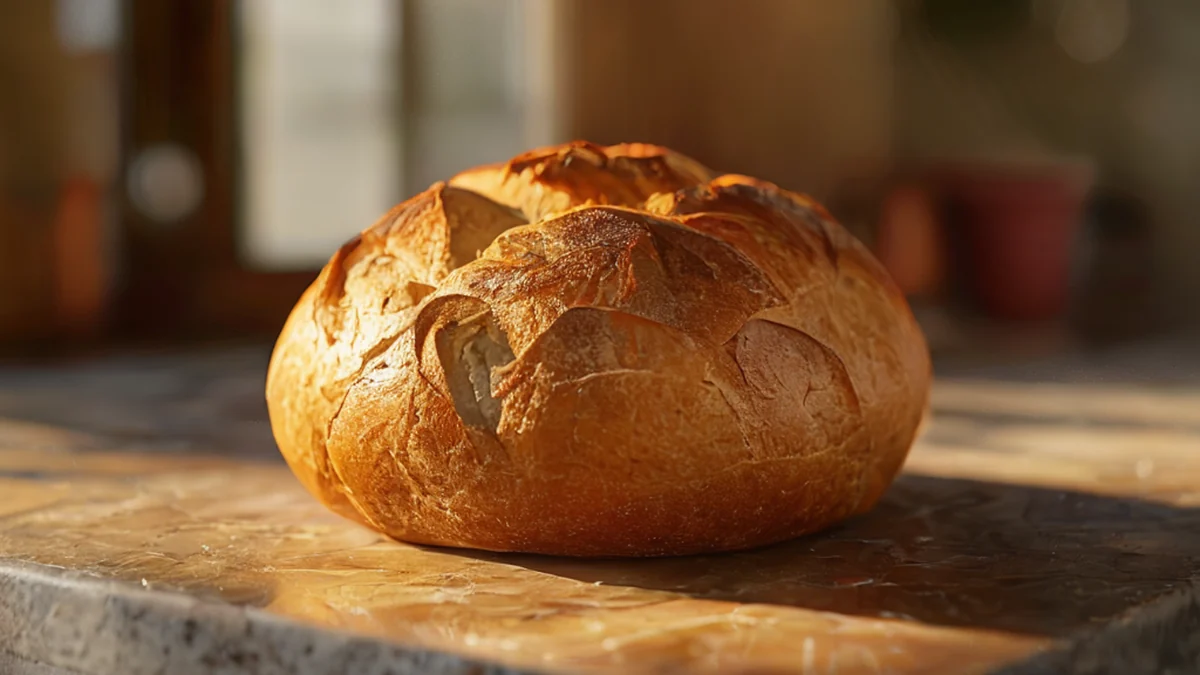
How can I shape dough without losing the air?
The dough feels heavy and warm in my hands as I turn it onto a floured wooden surface to begin the shaping process. Shaping is the delicate task of creating tension on the outer skin of the dough to ensure it rises upward rather than spreading outward during baking.
If you handle the dough too roughly, you will knock out the precious gases produced during fermentation, leading to a flat, dense loaf.
To achieve a good shape, you want to create "surface tension." This is done by pulling the dough against the work surface to tighten the outer layer. For a round loaf, you fold the edges toward the center and then roll it into a tight ball. For longer loaves, you fold and roll to create a cylinder.
This tension acts like a balloon, holding the shape while the heat of the oven causes the gases to expand.
If the dough is too sticky to shape, do not keep adding more flour, as this will make the final bread dry and heavy. Instead, use a light dusting of flour on your hands or slightly wet your hands to prevent sticking.
The goal is to work with the dough's natural elasticity, not to fight it with excess flour.

Why does my bread come out heavy and dense?
The oven door closes with a heavy thud, and the smell of toasted grain begins to fill the room as the timer starts. A dense, heavy loaf is often the result of a failure in either the way the dough was handled or the way it was baked.
If the bread lacks the "lift" expected of a light, airy crumb, the structural integrity of the loaf has failed.
One common cause is insufficient proofing, where the yeast did not produce enough gas to lift the heavy mass of flour and water. Another cause is "under-baking," where the interior remains gummy because the heat did not penetrate the center fully.
Additionally, if the gluten was not properly developed during the mixing stage, the dough will not be able to hold the gas produced by the yeast, resulting in a collapsed structure.
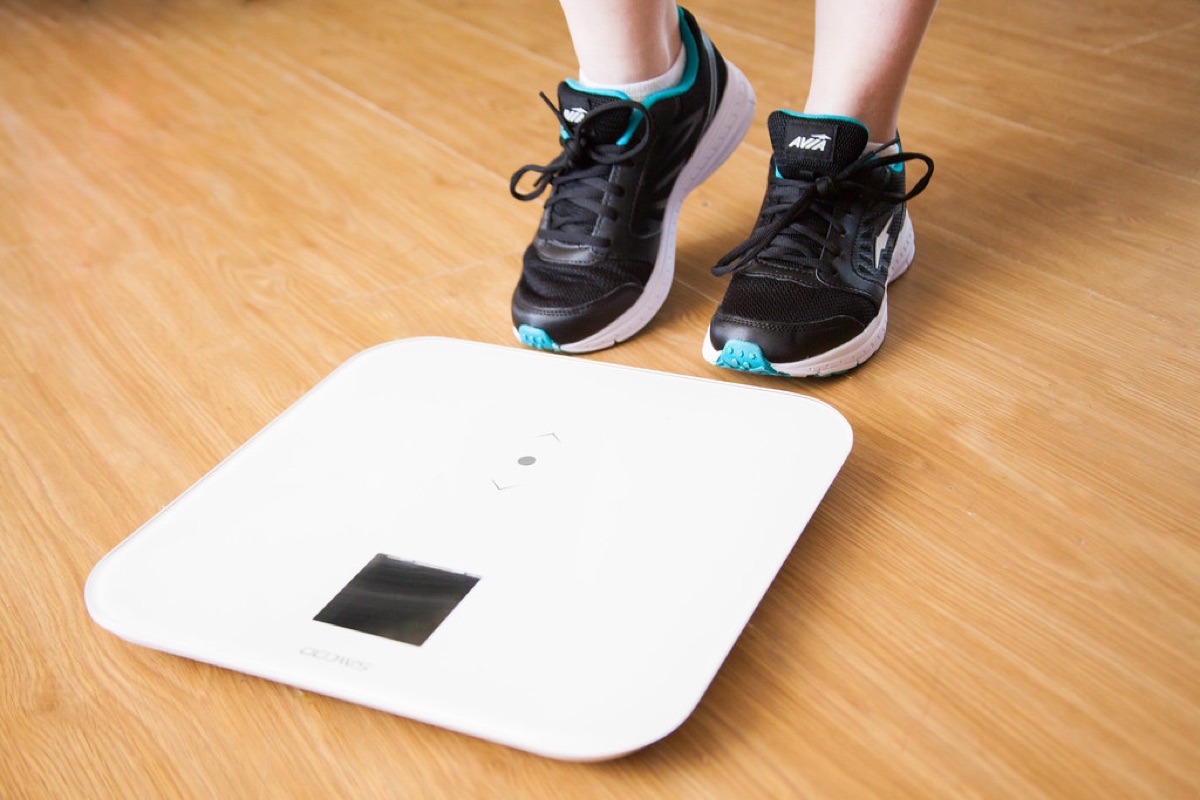
A secondary cause is using too much flour or not enough water, creating a dough that is too heavy for the yeast to lift. This is often seen in recipes that are not precisely measured. Always use a kitchen scale to measure ingredients by weight rather than volume to ensure consistency.
How do I troubleshoot oven spring and crust issues?
I watched through the oven glass as the loaf began to expand, the crust turning a deep golden brown while the steam rose in wisps. "Oven spring" is the final, rapid rise that occurs in the first few minutes of baking.
It is the moment where the heat causes the gases inside the dough to expand one last time before the crust sets.
If your oven spring is weak, it might be because the oven temperature was too low, or the dough was over-proofed and the gluten was too weak to hold the expansion. If the crust is too thick or hard, it may be due to excessive flour during shaping or baking at too low a temperature for too long.
Conversely, a very thin, crispy crust requires high initial heat and controlled steam.
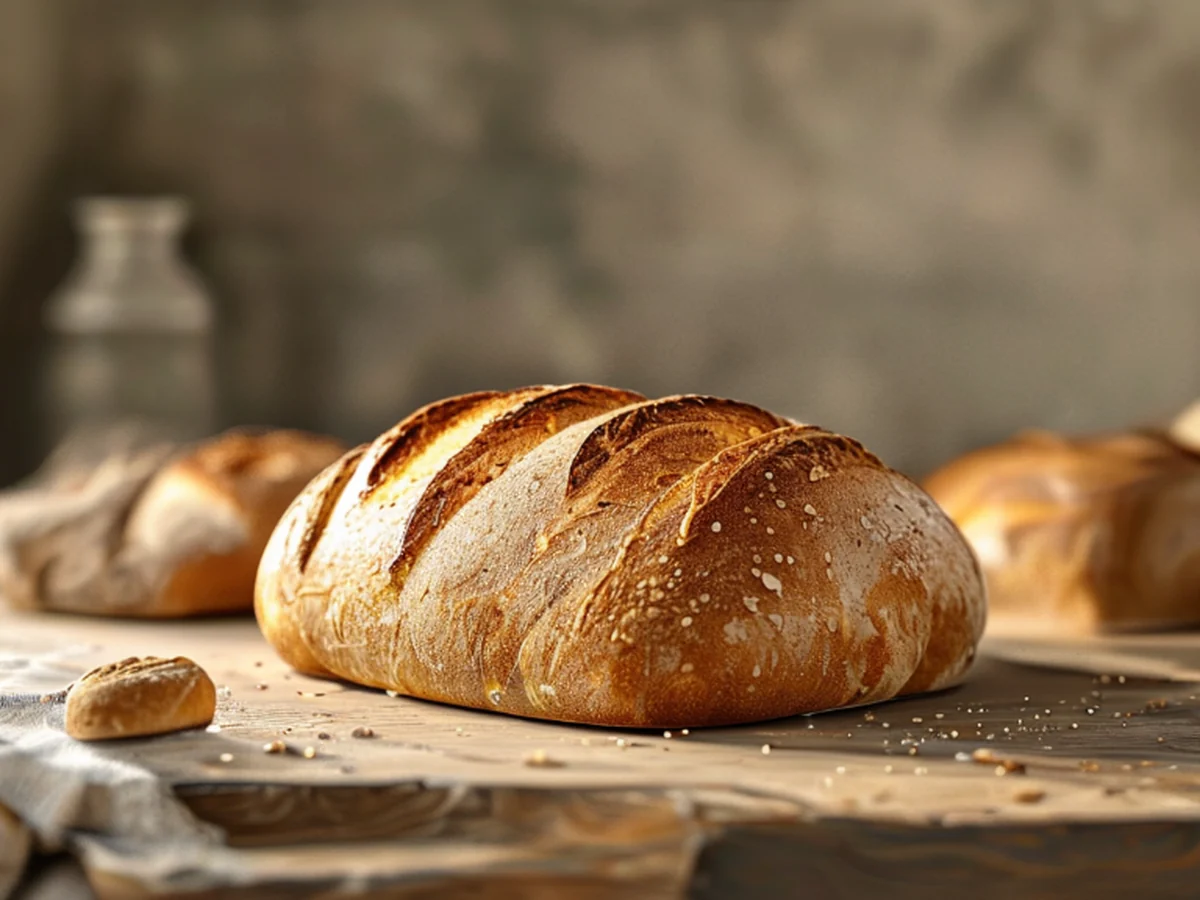
Using steam in the oven can significantly improve the crust. Steam keeps the surface of the dough moist for longer, allowing it to expand fully before the crust hards.
You can achieve this by placing a pan of hot water at the bottom of the oven or spraying the loaves with water right before they go in.
What are the limits of home baking?
It is important to remember that home environments are much harder to control than professional bakeries. Factors like seasonal temperature shifts, varying flour brands, and oven calibration mean that your results will naturally fluctuate.
This guide focuses on fundamental techniques, but advanced topics like sourdough starters or high-hydration doughs require much more specialized knowledge and equipment.
If your dough is extremely wet, these basic shaping techniques may not apply, and you will need to learn specific "stretch and fold" methods instead.
When I tried the steps in order, the second one is where I paused longest.
However, this does not apply in every situation.
homemade — FAQ ### What is the best way to measure ingredients for bread?
Using a digital kitchen scale to measure ingredients by weight is the most accurate method. Volume measurements like cups can vary significantly depending on how tightly the flour is packed, which can ruin a recipe.
How can I prevent my dough from sticking to my hands?
You can prevent sticking by lightly dusting your hands with flour or using a very small amount of water. If the dough is extremely sticky, it may be a sign that the hydration level is too high for your current skill level or flour type.
Related
Comments 0