Sourdough Starter Care: 4 Simple Ways to Keep It Strong
Maintaining a healthy sourdough starter requires consistent feeding schedules and temperature stability rather than specialized equipment. By using simple tools like wide-mouth jars and high-quality flour, bakers can easily manage their yeast through regular feedings or refrigera
Stop treating your sourdough starter like a science experiment and start treating it like a low-maintenance roommate.
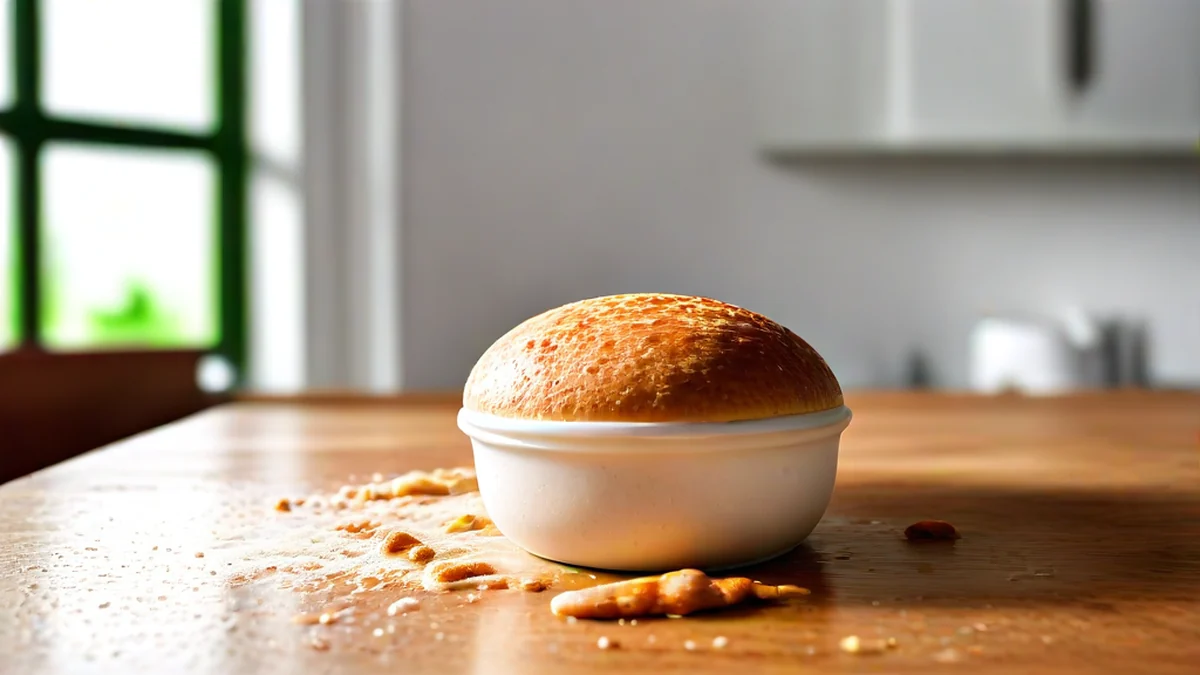
Maintaining a vigorous sourdough starter doesn't require expensive glass jars or high-tech scales. You can keep your wild yeast thriving using basic kitchen staples and a consistent, simple feeding schedule.
- Focus on temperature stability rather than specialized equipment.
- Use a regular ratio of flour to water to prevent acidity buildup.
- Prioritize consistency over perfection to maintain yeast activity.
- Learn to recognize the visual cues of a healthy fermentation cycle.
What do I actually need to get started?
You don't need a laboratory setup to bake great bread in 2026. Most successful home bakers use a simple wide-mouth mason jar or even an old plastic deli container.
I remember my first attempt where I used a tiny, narrow-necked bottle; the starter expanded so fast it sprayed sticky goo all over my granite countertops! Now, I always use a jar with at least three times the volume of my starter.
For ingredients, stick to unbleached all-purpose or bread flour. According to the King Arthur Baking Company, using high-quality flour provides the consistent nutrients your yeast needs to thrive.
| Tool Type | Pro Version | Practical Home Version |
|---|---|---|
| Container | Lab-grade Borosilicate | Wide-mouth Mason Jar |
| Measurement | Digital Gram Scale | Measuring Spoons/Cups |
| Temperature | Incubator/Proofer | Oven with light on |
| Stirrer | Silicone Spatula | Metal Spoon or Fork |
How often should I feed my starter?
The frequency of your feeding depends entirely on how much you bake. If you are baking every single day, a daily feeding is standard to prevent the acidity from peaking too high.
If you only bake once a week, you should store your starter in the refrigerator. The cold slows down the metabolic rate of the yeast significantly.
The Oldways Whole Grains Council notes that maintaining diverse microbial activity is key to fermentation quality. In my kitchen, I find that a 1:2:2 ratio (starter to flour to water) keeps things stable even when my schedule gets hectic.
Can I use different types of flour?
Yes, but you must be aware of how they affect the speed of fermentation. Whole wheat and rye flours are like high-octane fuel for your starter because they contain more nutrients and minerals.
If you switch from white flour to rye, expect your starter to bubble much faster. I once switched my entire routine to buckwheat flour and had to double my feeding frequency just to keep up with the activity!
| Flour Type | Fermentation Speed | Nutrient Density |
|---|---|---|
| All-Purpose | Moderate | Standard |
| Whole Wheat | Fast | High |
| Rye | Very Fast | Very High |
| Bread Flour | Moderate/Fast | Medium-High |
How do I know if it is healthy or dead?
A healthy starter should smell pleasantly tangy, like yogurt or mild vinegar. It should also show visible bubbles and ideally double in size within 4 to 8 hours after a feeding.
If you see a dark liquid on top, don't panic; that is just "hooch." It is an alcohol byproduct indicating your starter is hungry. Simply pour it off or stir it back in and feed it immediately.
However, if you see fuzzy mold (white, green, or black) or smell something truly putrid like rotting garbage, throw it away. Safety first: when in doubt, start over with fresh flour and water.
A simple 4-step maintenance routine
Follow this sequence to keep your starter strong without spending a dime on extra gear.
- Discard: Remove all but about 50 grams of your existing starter from the jar.
- Measure: Add 100 grams of room-temperature water and 100 grams of flour.
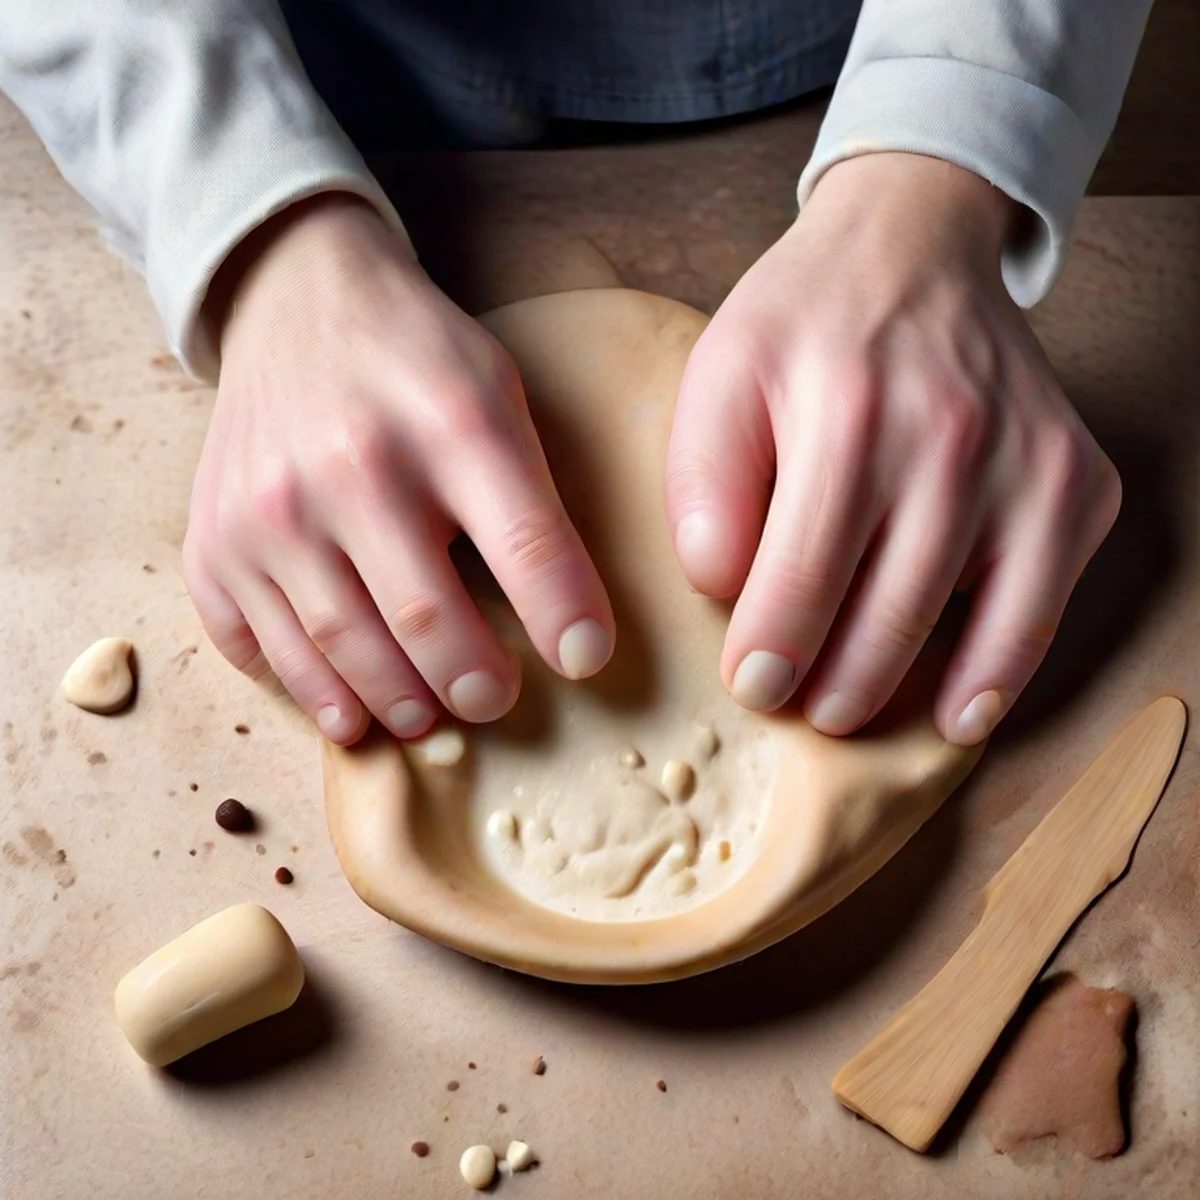
- Mix: Stir vigorously with a spoon until no dry clumps remain in the mixture.
- Mark: Use a rubber band around the outside of the jar to mark the starting level so you can track the rise.
Are there any limitations to this method?
It is important to note that using volume (cups) instead of weight (grams) can lead to inconsistencies. Flour density changes based on humidity, and an extra tablespoon of water can significantly alter your starter's texture. While my "no-fancy-gear" approach works for most, precision baking often requires a scale for repeatable results.
FAQ
Does the water temperature matter? Yes. Use lukewarm water (around 75°F to 80°F). If the water is too hot, you might kill the wild yeast cells instantly.
Can I use tap water? Be careful. The American Water Works Association highlights that many municipal systems use chlorine to treat water. Chlorine can inhibit yeast growth. If your water smells strongly of chemicals, let it sit out overnight or use filtered water.
How long can a starter live in the fridge? In my experience, a starter can live in the fridge for weeks with just one feeding every 7 to 10 days. It won't be at peak strength immediately, so give it two feedings at room temperature before baking.
Why isn't my starter rising? Check your temperature. If your kitchen is below 68°F, the yeast will go dormant. Try placing the jar in a slightly warmer spot, like near a sunny window or inside an oven that is turned off but has the light on.
Now that you know the basics, grab a jar and some flour to begin your fermentation journey. Your first loaf of homemade bread is closer than you think!
Comments 0