Dough rising tips: cold temperatures stop yeast activity 1
This guide explains the critical factors that determine if bread dough rises, focusing on temperature control, gluten structure, and proper oven calibration. Learn how to troubleshoot common baking failures to achieve a perfect, crusty loaf every time.
This article is about temperatures. "The perfect rise is a delicate dance between the living yeast and the heat of the oven."
Mastering the art of bread making requires understanding how temperature influences fermentation and how heat transforms dough into a crusty masterpiece. This guide covers everything from gluten development to oven calibration to ensure your loaves never turn out dense or collapsed.
- How to manage temperature for consistent fermentation.
- The visual cues to identify over-proofed or under-proofed dough.
- Essential tools for oven calibration and temperature control.
- Troubleshooting common heat-related baking failures.
Why does my dough fail to rise?
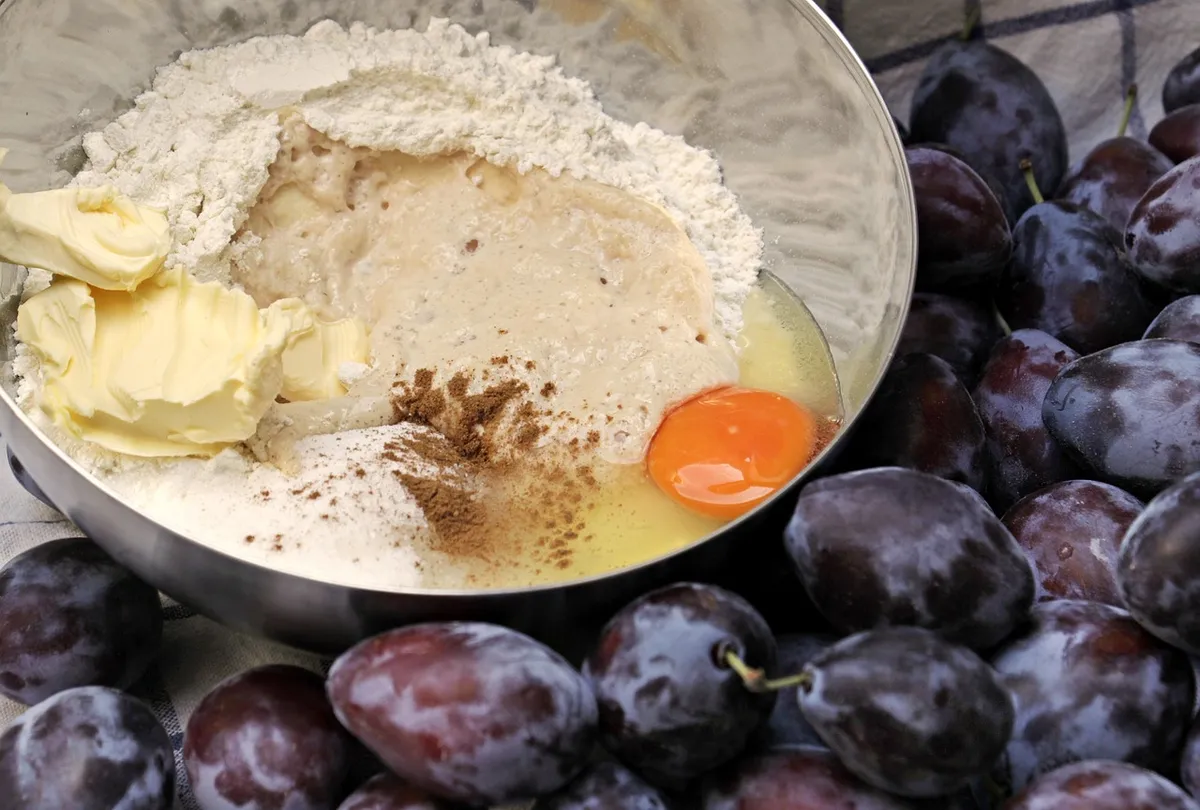
A heavy, cold kitchen counter holds a bowl of dough that feels more like clay than living bread. Understanding the relationship between yeast activity and temperature is the first step to solving the mystery of flat loaves.
The primary reason dough fails to rise is often a lack of proper gluten development or insufficient yeast activity caused by extreme temperatures.
If the environment is too cold, the yeast remains dormant, and if the dough isn't kneaded enough to create a gluten structure, it cannot trap the gases produced during fermentation.
- Check the water temperature: Use lukewarm water to wake up the yeast without killing it. 2. Monitor the ambient temperature: Place the bowl in a warm, draft-free spot. 3. Test for gluten: Perform the windowpane test to ensure the structure is strong enough to hold air.
I remember standing in my kitchen at 6:00 AM, staring at a bowl of dough that refused to budge despite being placed near the radiator. It was a lesson in how much environmental control matters.
This guide focuses on standard home baking environments; results may vary significantly in professional-grade walk-in proofing cabinets or extremely humid climates.
- Check the expiration date on your yeast.
- Ensure the water temperature is not killing the live cultures.
- Verify that there is enough sugar or starch to feed the yeast.
temperatures — Managing the proofing environment The kitchen window is open, letting in a chilly breeze that settles over the countertop where the dough sits. Maintaining a stable temperature range is the most difficult part of consistent bread making.
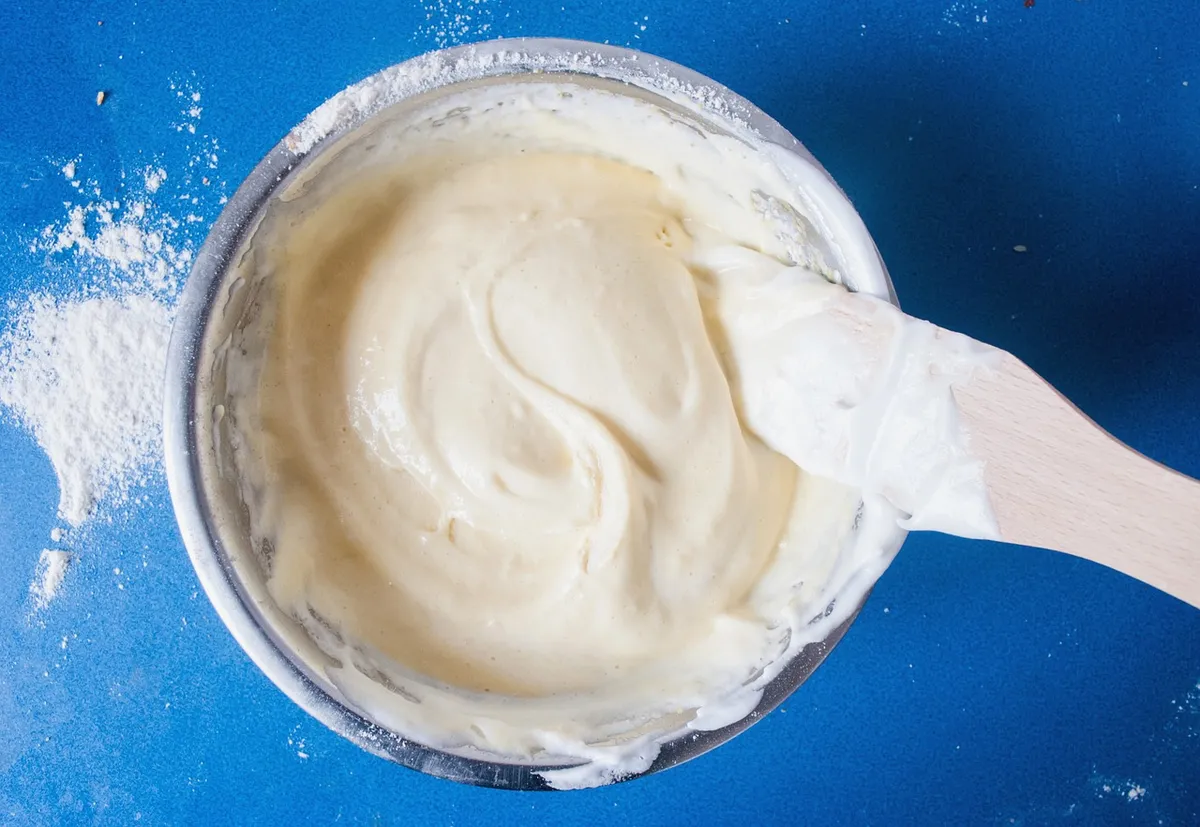
The ideal temperature range for proofing typically falls between 75–85°F. Within this window, yeast works at a predictable rate, allowing you to time your bake accurately.
If the temperature drops below this range, the fermentation process slows down significantly, requiring much longer waiting periods.
If you cannot control the room temperature, you can use a proofing box or a simple oven with the light turned on to create a warm environment. However, you must monitor the dough closely to prevent it from overheating.
| Condition | Dough Appearance | Resulting Texture |
|---|---|---|
| Under-proofed | Small, tight, and firm | Dense, heavy, and gummy |
| Over-proofed | Bubbled, stretched, and fragile | Collapsed, flat, and sour |
In this sequence, the first step is the most critical.
How can I tell if I over-proofed the dough?
A finger gently presses into the surface of a risen loaf, and the indentation stays deep without bouncing back. Recognizing these visual cues is essential to prevent a total loss of volume during the bake.
The primary sign of over-proofing is a dough that looks overly inflated but lacks structural integrity. If the dough is slack and collapses easily when touched or moved to a baking sheet, it has likely fermented too long.
Conversely, under-proofed dough will appear dense and may crack significantly when scored.
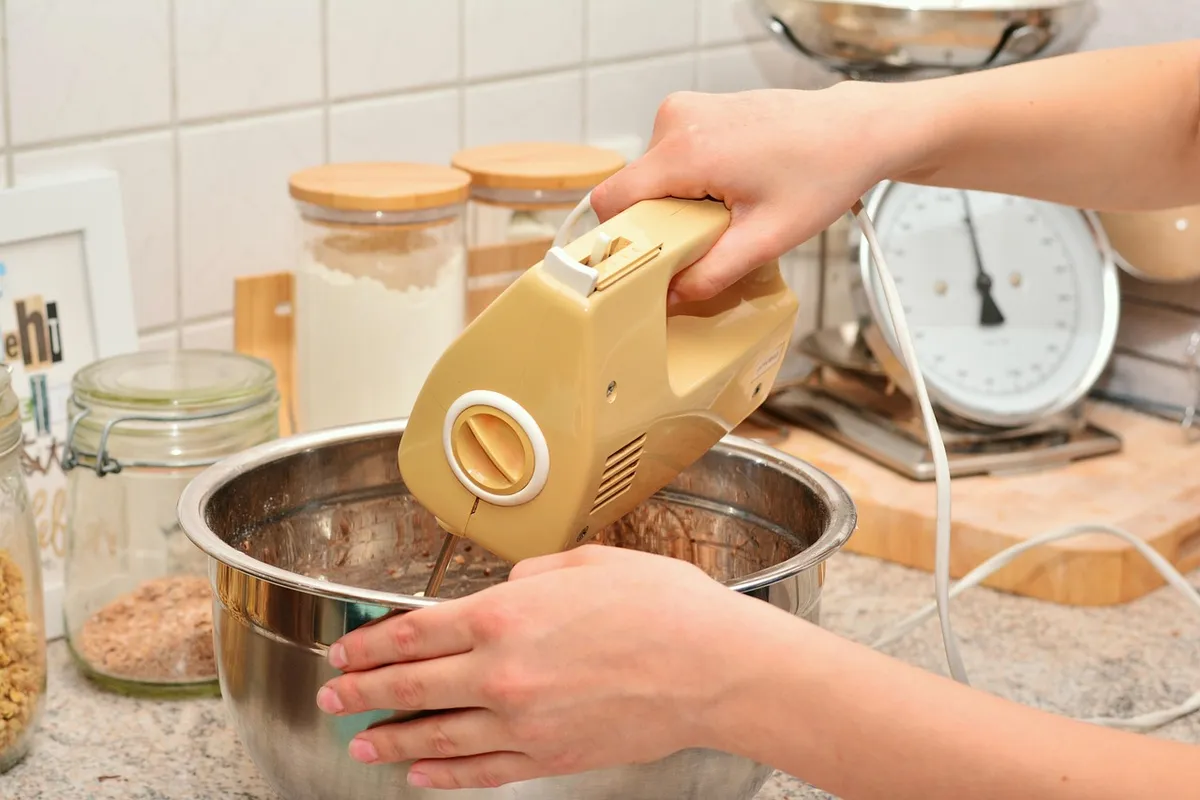
To check if your dough is ready, use the "finger dent test." Gently press the dough with your finger; it should spring back slowly and leave a slight indentation. If it snaps back immediately, it needs more time. If it deflates or stays sunken, it is over-proofed.
Gently press the dough with your finger; if it springs back immediately, it is under-proofed, but if it collapses, it is over-proofed.
The heat factor: Mastering oven temperature and baking
The oven door clicks shut, and the smell of heating metal fills the kitchen as the timer begins to count down. Mastering the transition from dough to bread requires precise heat management.
Oven calibration is a critical but often overlooked step for beginners. Most home ovens do not maintain the exact temperature displayed on the digital readout, which can lead to loaves that are burnt on the outside but raw in the center.
Using an independent oven thermometer is the only way to ensure the internal temperature matches your recipe.
When the heat hits the dough, the "oven spring" occurs—a final, rapid burst of expansion. If the oven is too cool, the bread will be pale and heavy. If it is too hot, the crust will set before the interior has a chance to expand, leading to a dense loaf.
- Preheat thoroughly: Allow the oven to reach the target temperature and stabilize for at least 20 minutes before loading the dough.
- Use a baking stone or steel: These tools help distribute heat more evenly to the bottom of the loaf.
- Steam management: For crusty breads like baguettes, adding steam to the oven helps the crust stay soft long enough for maximum expansion.
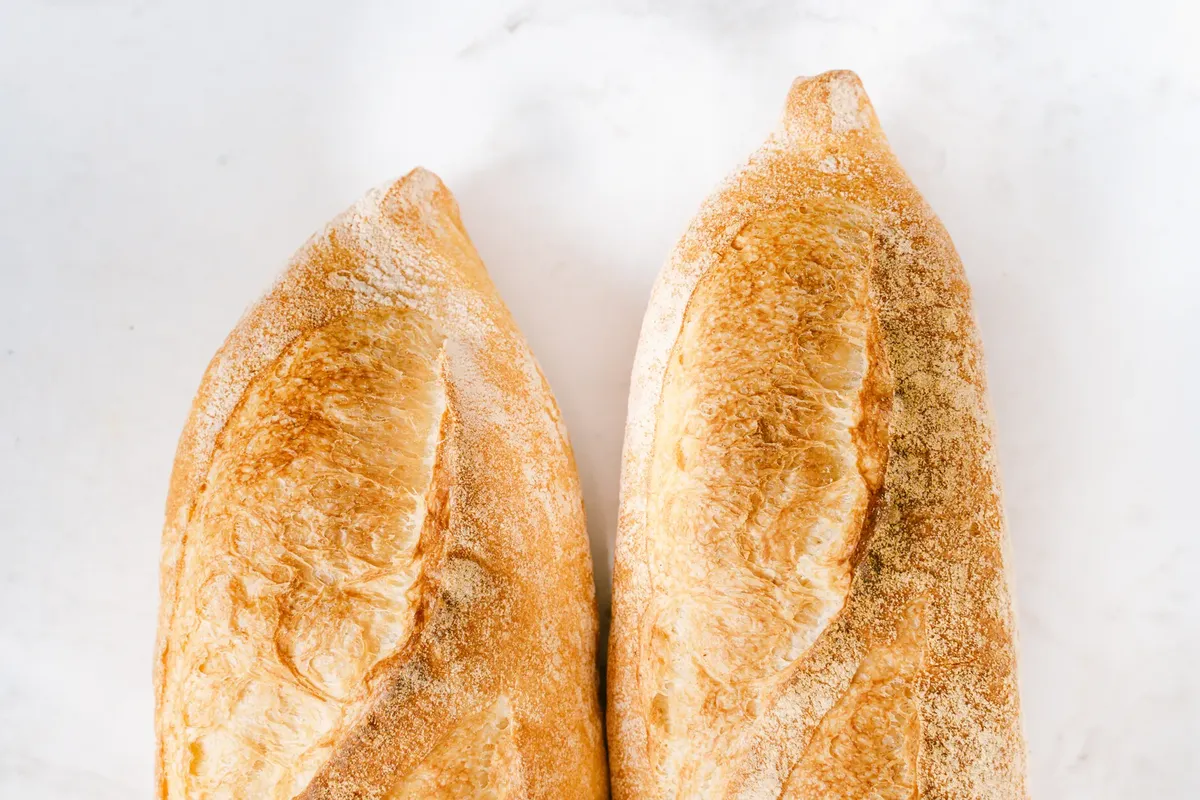
Preheating your oven is essential to ensure the dough expands properly before the crust sets.
Why is my bread crust too hard or too soft?
A thick, dark crust cracks unevenly, while another loaf comes out with a pale, cracker-like exterior. The science of heat transfer determines the final texture of your bread's skin.
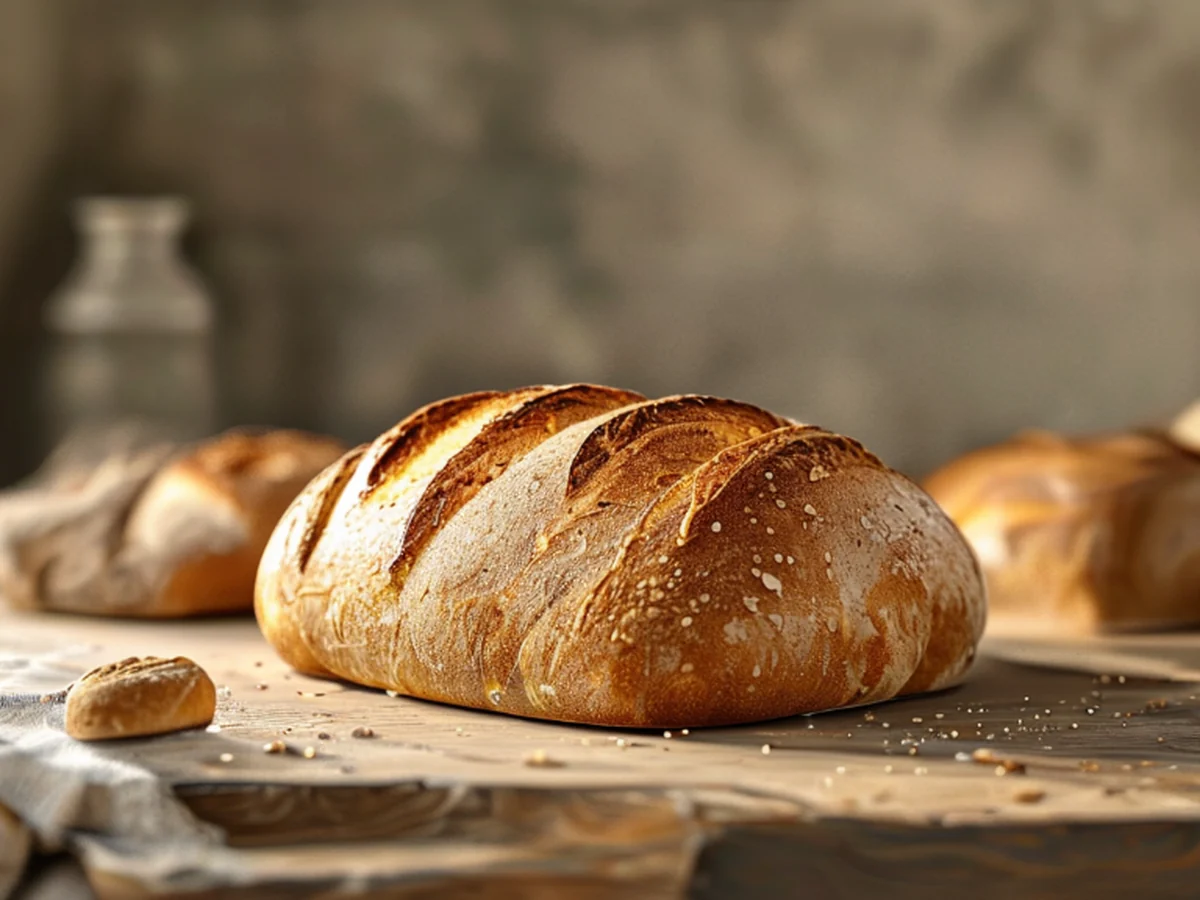
Crust thickness and color are determined by the combination of temperature, moisture, and sugar content. A high-heat bake with steam produces a thin, crispy, and golden crust. A lower-temperature bake without moisture often results in a thick, hard, or tough crust.
If your bread is consistently too hard, you may be baking it at too low a temperature for too long, or you might be using too much flour in your dough. If it is too soft, you might not be reaching a high enough internal temperature to set the crumb structure.
Crust texture is primarily determined by the moisture levels in the oven and the duration of the bake.
Troubleshooting common baking failures
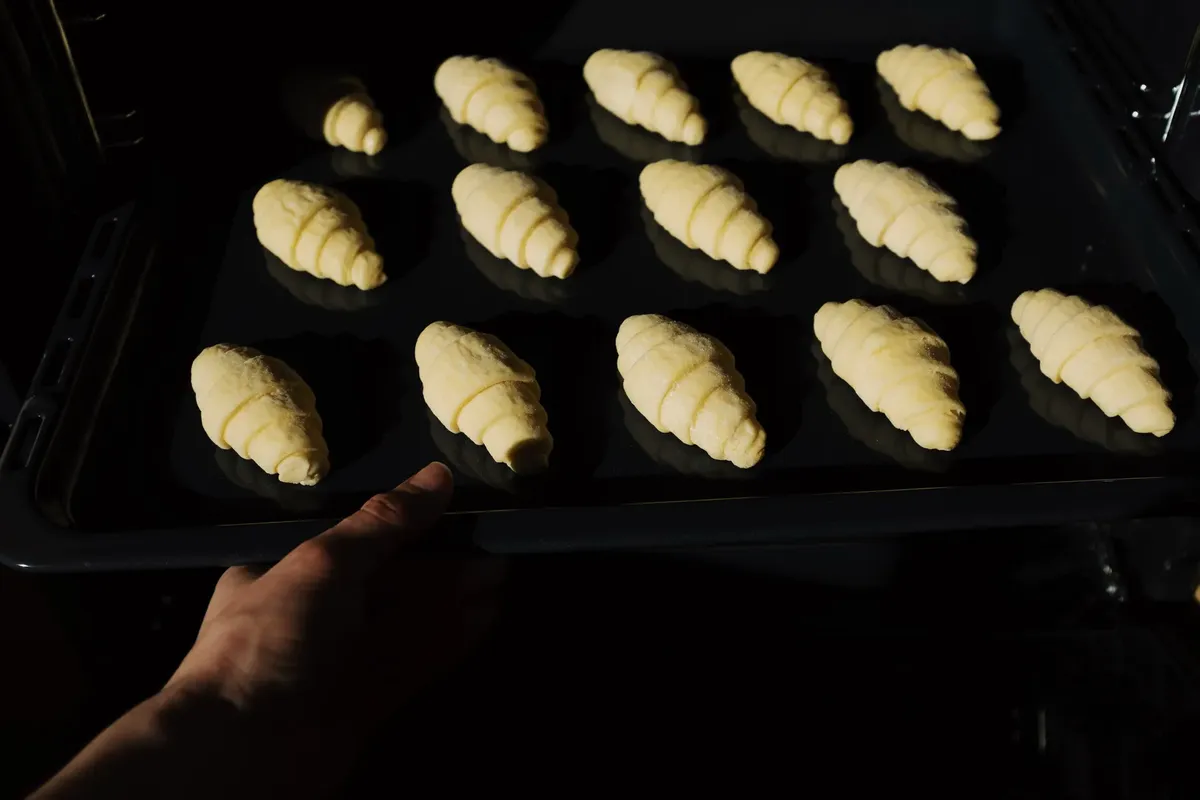
The kitchen counter is covered in flour, and a tray of sunken rolls sits waiting to be discarded. Troubleshooting requires a systematic approach to identifying whether the issue was the ingredients, the technique, or the environment.
Most failures can be traced back to one of three variables: yeast health, gluten strength, or temperature control. If your bread is consistently dense, the issue is likely under-proofing or weak gluten. If it collapses, it is likely over-proofing or weak structure.
- Verify yeast freshness: Always ensure your yeast is active by blooming it in warm water before adding it to the flour. 2. Check flour protein: Use bread flour (high protein) for chewy, structured loaves and all-purpose flour for softer, lighter breads. 3. Scale ingredients: Use a digital scale to measure by weight rather than volume to ensure consistency every time.
I once spent an entire weekend trying to figure out why my sourdough wouldn't rise, only to realize my "warm" water was actually hot enough to kill the culture. It was a humbling moment that taught me to use a thermometer every single time.
This troubleshooting guide assumes you are using standard commercial yeast and flour; specialized ancient grains or wild yeast cultures may behave differently.
Keep a log of your temperatures and timings to identify patterns in your baking results.
When I tried the steps in order, the second one is where I paused longest.
Related
- Bread Making Guide: Fermentation Timing Is So Difficult 8
- How To Bake Baguette: Achieving a Crispy Professional Crust
FAQ
How do I know if the dough is ready to bake?
You can perform a finger dent test to check the readiness of your dough. If you press the dough gently and it springs back slowly, it is likely perfectly proofed. If it springs back immediately, it needs more time, while if it collapses, it has been over-proofed.
What happens if the oven is too cold during baking?
If the oven temperature is too low, the bread will lack oven spring and result in a dense, heavy texture. A low temperature can also lead to a pale crust because the Maillard reaction and caramelization require specific heat levels to develop properly.
The same subject covers temperatures, activity, and rising.

Comments 0